
Everyone's foot is a little different. Most ballet shoes come with loose elastics, or with the elastic only sewn in the back of the shoe. Sewing them on correctly is important because it can enhance the look of your foot or it can totally work against you, depending on where it's placed.
I REALLY encourage any dancer over the age of about 10 to sew their own elastics. It's an important skill to have!

Step 1:
Decide where to place the back elastic (if it didn't come pre-sewn. )
Chances are, you won't need this. Most shoes come with this step already complete. To place the back elastics, fold the back/heel of the shoe down toward the insole so that the seam is directly down the center of the shoe. This will make a folded corner on each side of the heel, where your elastics should be attached. Pin them in place and skip to Step 3 for sewing instructions.
Step 2:
Determine the length and placement of the front elastics.
 Put the shoe on, and with your ankle flexed, gentle stretch the elastic across the top of your instep to the highest part of your arch. For most dancers this will land right at the seam on the side of the shoe.
  Make a small pencil mark on the inside of the elastic where it lines up with the edge of the shoe.
Step 3:
Sewing! :)
Start by threading your needle with a double length of strong pink or ivory thread, and tie a good knot at the end. I use Coats and Clark Hand Quilting thread.
 Line your elastic up with the side seam of the shoe. Be sure that the pencil mark is even with the top edge of your slipper, and hold it firmly in place.

 In the end, it should look something like this. These shoes don't have an elastic drawstring to worry about, so they are sewn all the way to the top. If you have a drawstring, just sew up to the seam of the drawstring casing.
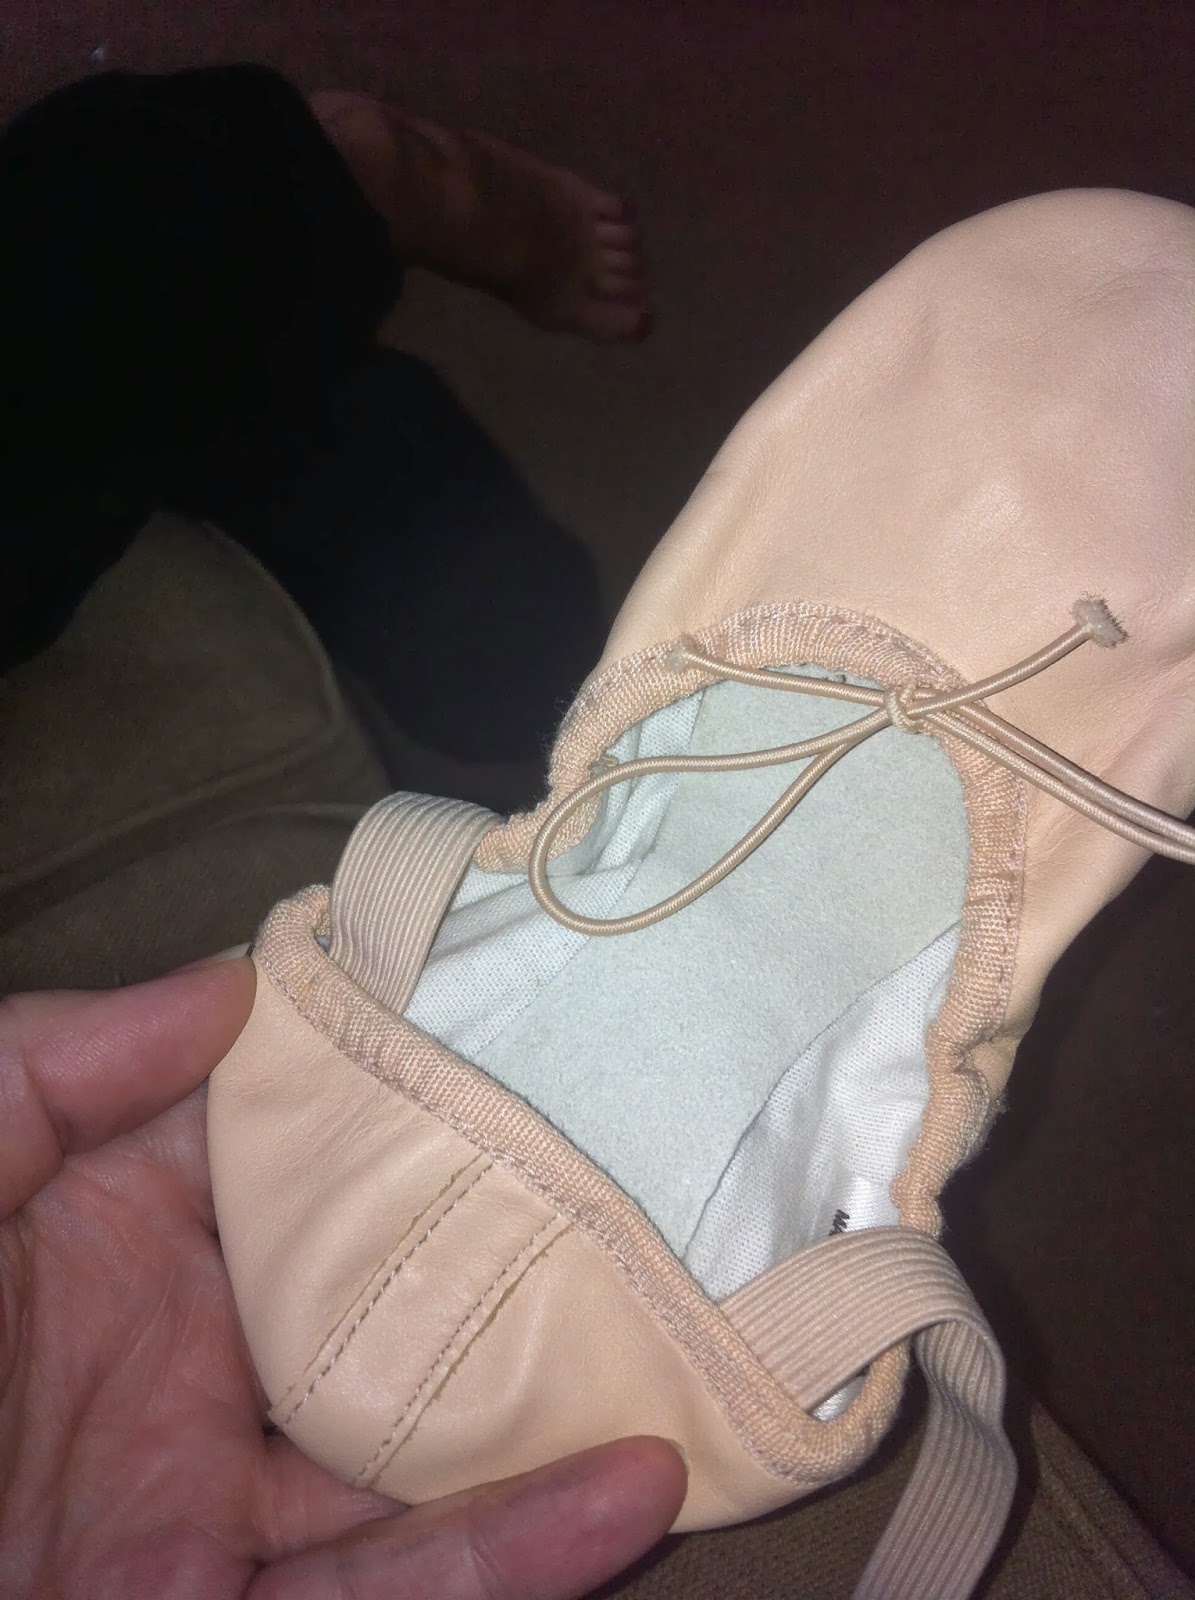
The Drawstring
.JPG) Gently pull the drawstring until the shoe is sitting snug against the foot all the way around, with no gaps. Don't pull too tight! Tie a knot in the elastic cord, pull it down towards your toes, and snip it off at the end of the your foot. When you put your shoe on, push the cord ends into the shoe first. They'll stay tucked down along the top of the foot, out of the way, for the entire class or performance.
Gently pull the drawstring until the shoe is sitting snug against the foot all the way around, with no gaps. Don't pull too tight! Tie a knot in the elastic cord, pull it down towards your toes, and snip it off at the end of the your foot. When you put your shoe on, push the cord ends into the shoe first. They'll stay tucked down along the top of the foot, out of the way, for the entire class or performance.
That's it! Your shoes are ready for class!
No comments:
Post a Comment